
Introduction
Simple mehndi design is the perfect choice for anyone who wants beautiful henna art without spending hours on application. Whether you’re attending a wedding, celebrating a festival, or want to decorate your hands for fun, simple mehndi patterns offer stunning results with minimal effort.
In this complete guide, you’ll discover over 10 simple mehndi design ideas, learn application techniques, and get expert tips for creating gorgeous henna art.

What is Simple Mehndi Design?
Simple mehndi designs are henna patterns that are easy to create and quick to apply. These designs use basic elements like dots, lines, curves, and simple shapes that anyone can master.
Unlike complex bridal mehndi that covers entire hands and feet, simple designs focus on minimal coverage with maximum impact. They’re perfect for beginners, busy people, or anyone who prefers a subtle look.

Why Choose Simple Mehndi Design?
Simple mehndi design has become incredibly popular for many good reasons. Let’s explore why millions of people worldwide choose simple patterns over elaborate designs.
1. Time-Saving Benefits
Simple mehndi takes only 10-30 minutes to apply compared to 2-4 hours for traditional designs. This makes it perfect for busy schedules and last-minute occasions.
You can create beautiful art even if you’re running late for a party. No need to book an appointment with a professional artist weeks in advance.
2. Perfect for Beginners
If you’ve never applied mehndi before, simple designs are your best starting point. They help you develop steady hands and learn basic cone control without frustration.
Making mistakes is less noticeable with simple patterns. You can practice multiple designs until you find your favorites.
3. Suitable for All Occasions
Simple mehndi design works for every event from office gatherings to grand weddings. The versatility makes it a practical choice for your mehndi wardrobe.
You can adjust the complexity based on the occasion. Go minimal for work or add more details for festivals.
4. Cost-Effective Option
Professional simple mehndi application costs much less than elaborate designs. You can even do it yourself at home with a basic henna cone.
Store-bought henna cones are affordable and readily available. One cone can create multiple simple designs.
Top 10 Simple Mehndi Design Ideas for 2026
Here are the most popular and trending simple mehndi design patterns this year. Each design is easy to recreate and looks absolutely stunning.
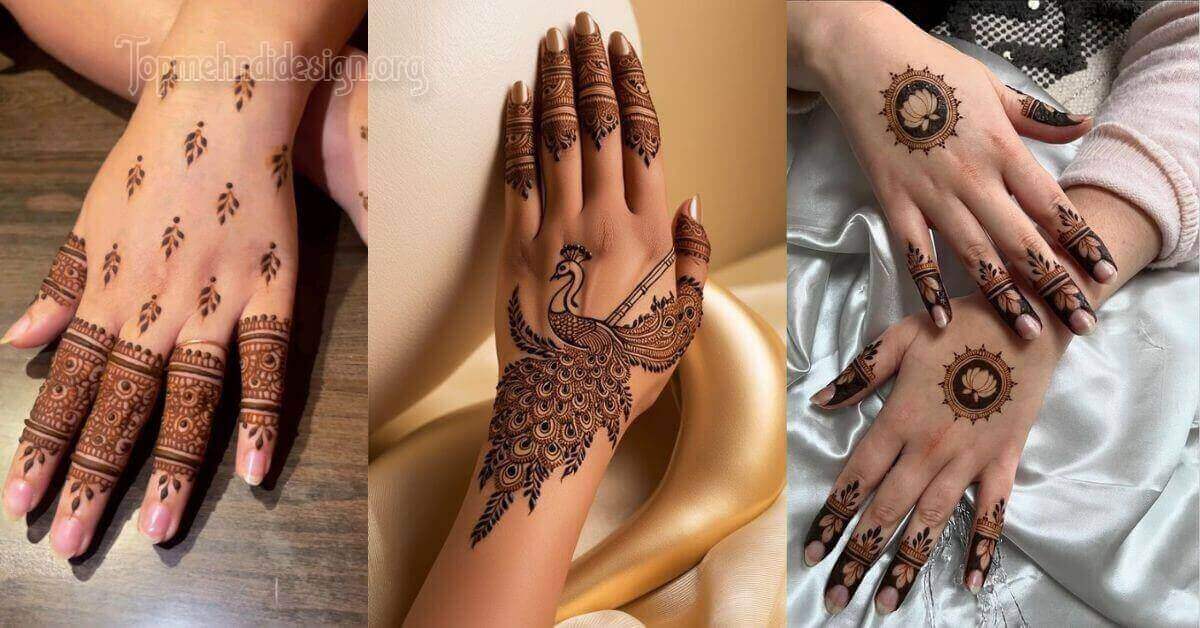
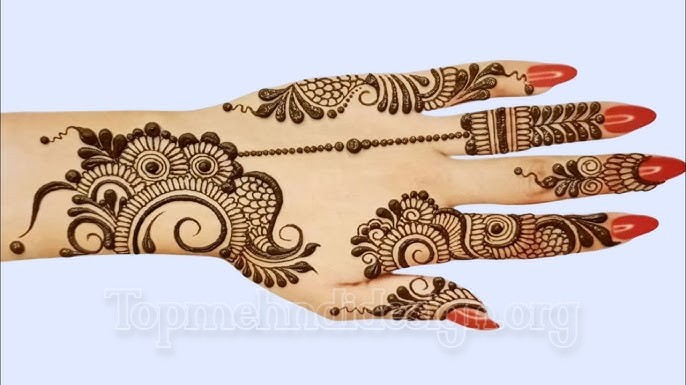
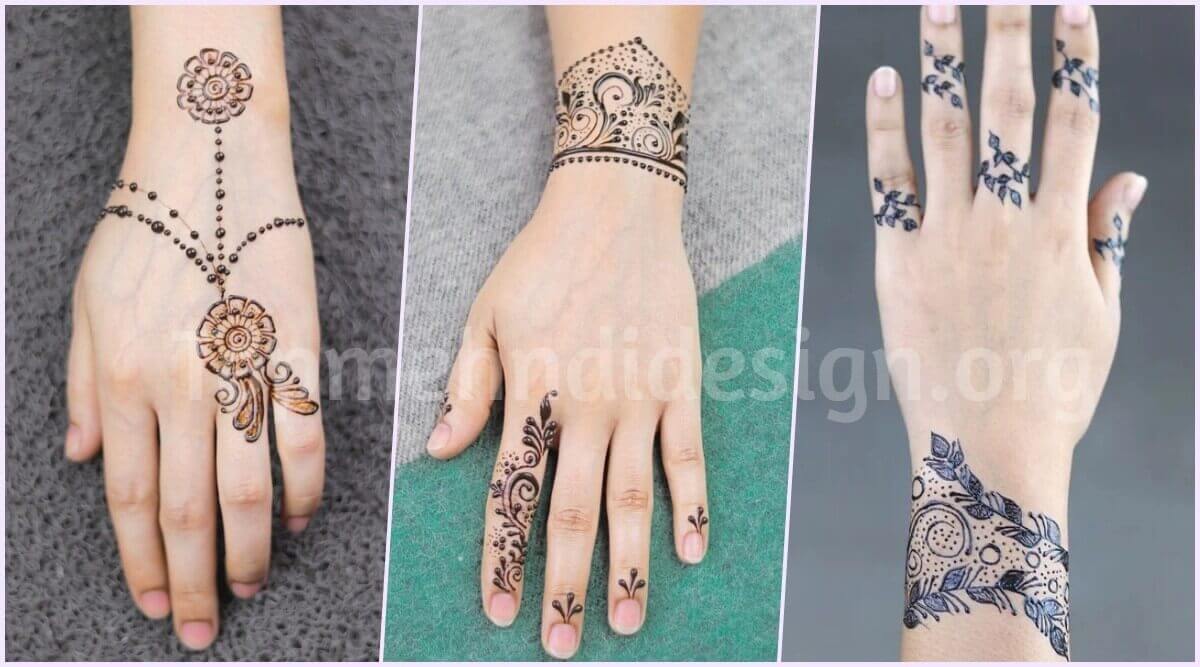
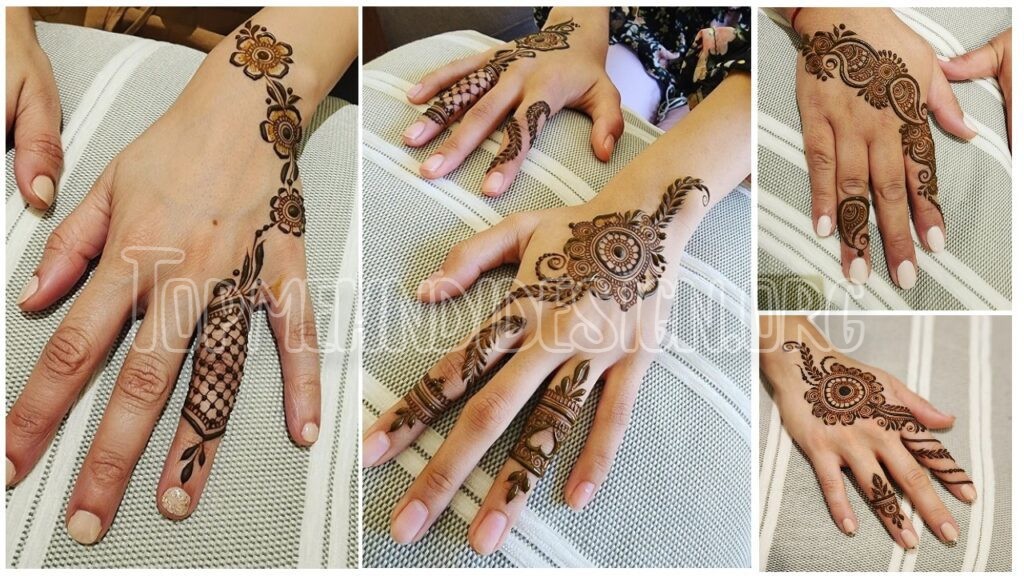
1. Finger Mehndi Design
Finger mehndi is the quickest and easiest simple design you can try. Apply small patterns only on your fingers while keeping your palms empty.
Create dots on fingertips, lines along fingers, or small rings at joints. This minimal style is perfect for office wear and casual outings.

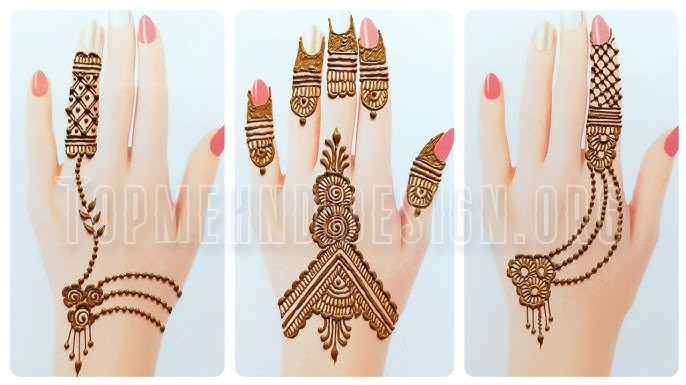
2. Floral Bracelet Design
Draw a curved line around your wrist like a delicate bracelet. Add small flowers and leaves along this line for an elegant look.
This simple mehndi design looks like jewelry on your wrist. It’s sophisticated yet easy enough for complete beginners.

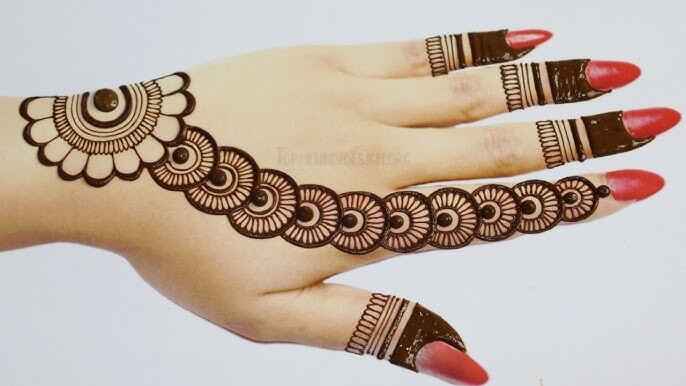
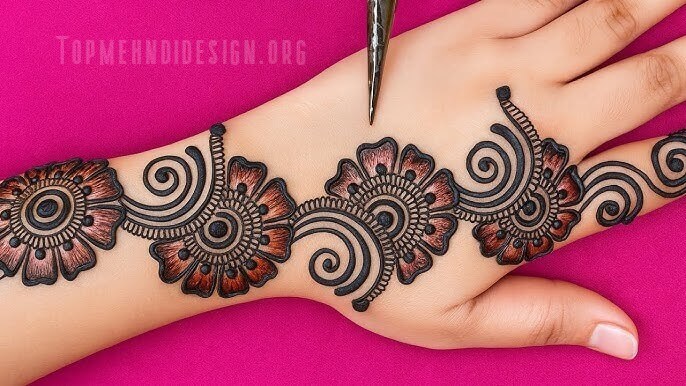
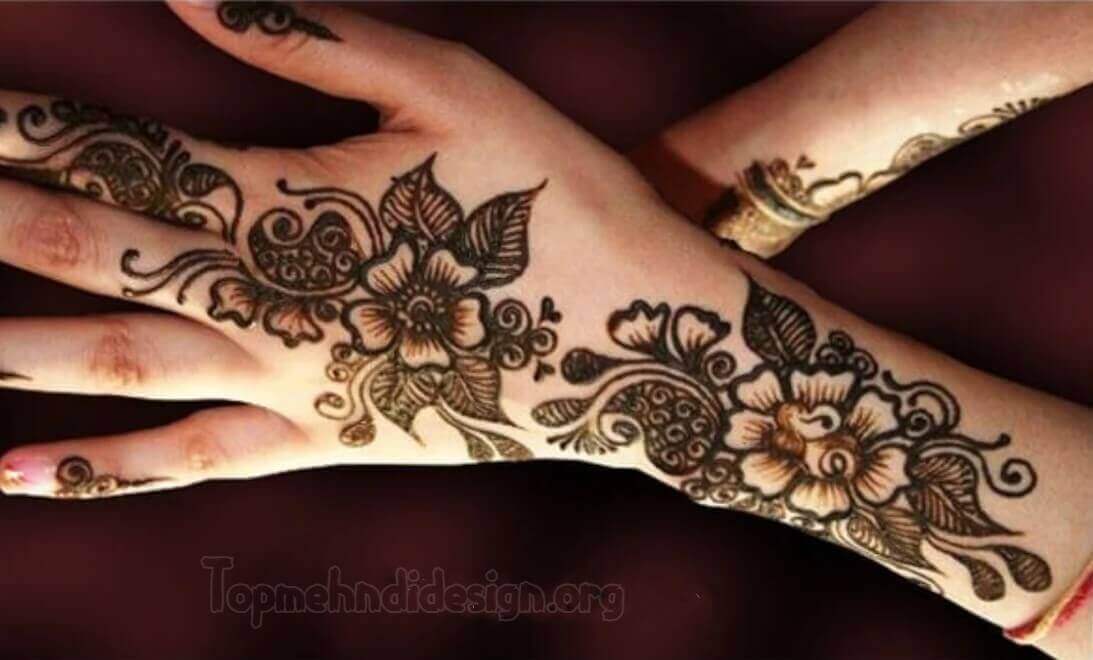
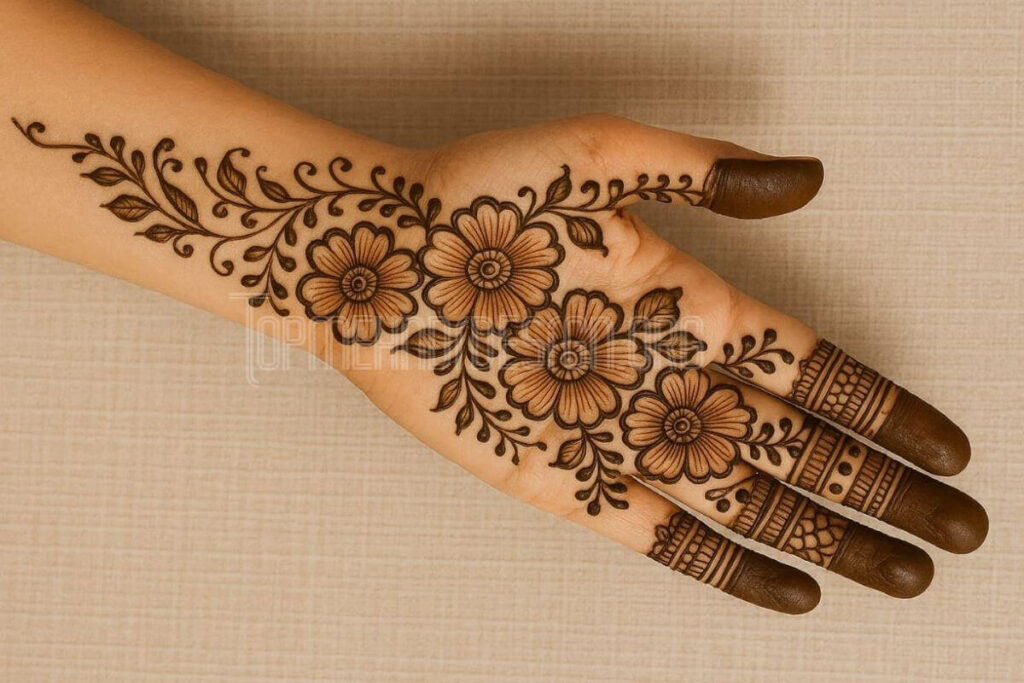
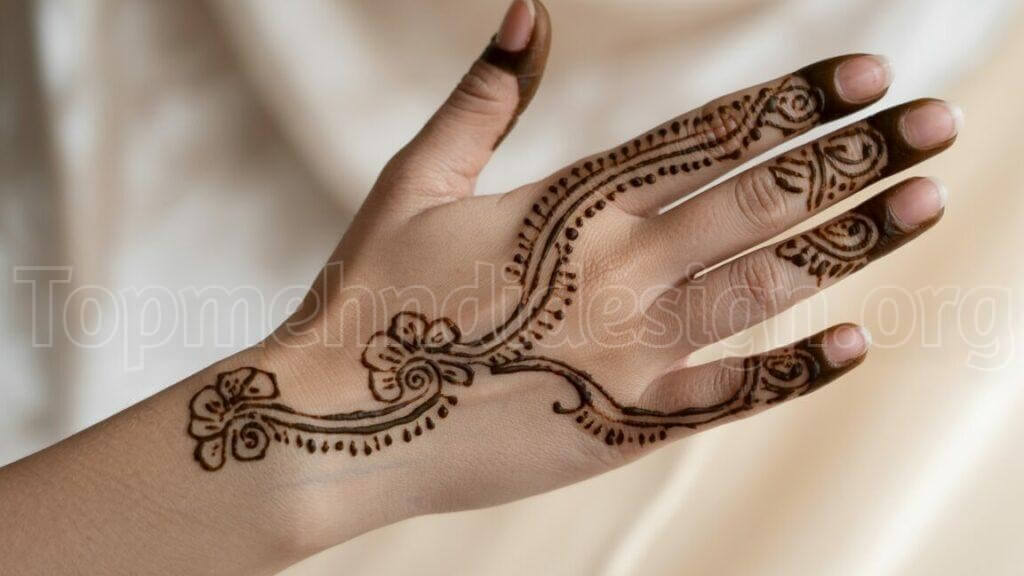
3. Back Hand Vine Pattern
Start from your wrist and draw a flowing vine going up toward your fingers. Add small leaves on both sides of the vine.
End with a simple flower near your middle finger. This classic, simple mehndi design never goes out of style.
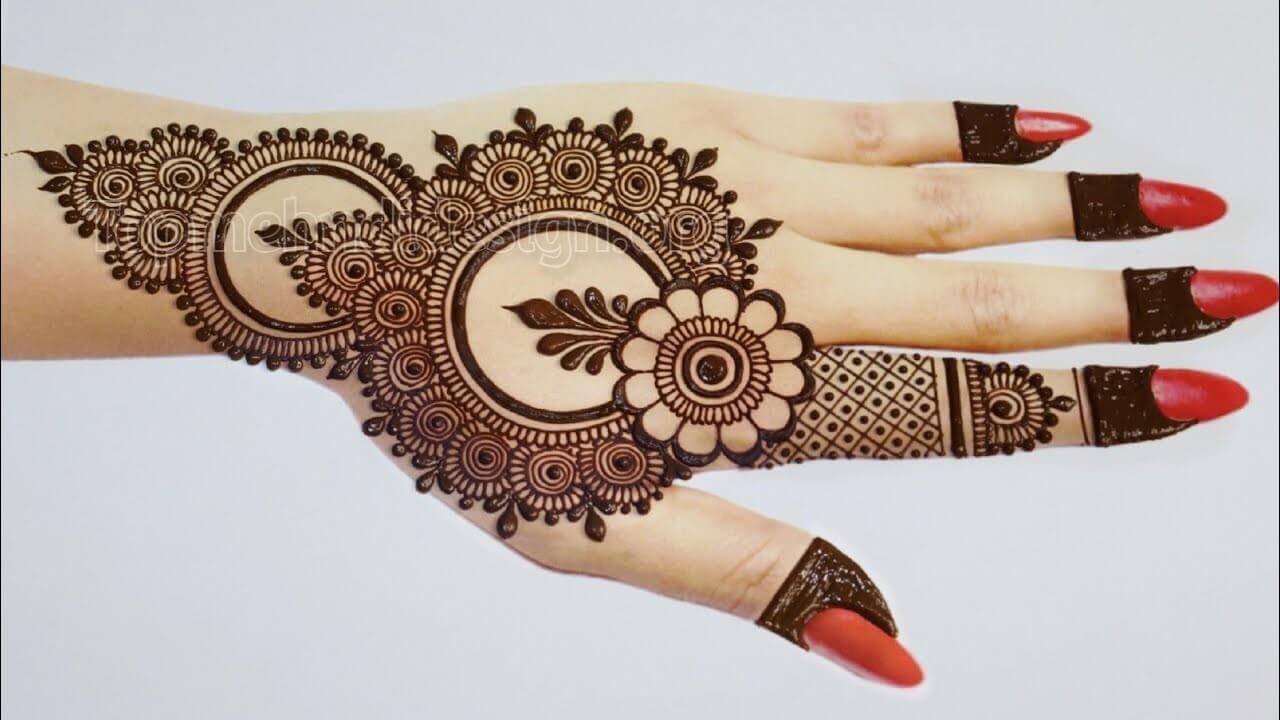
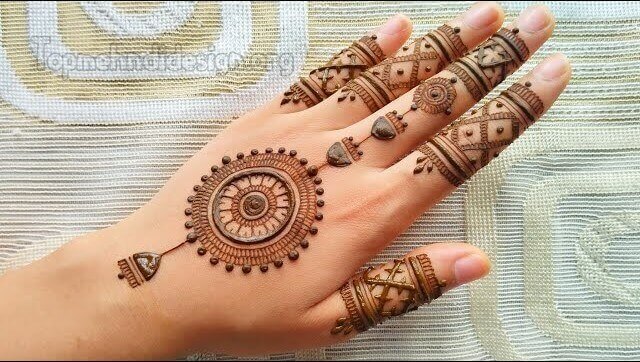
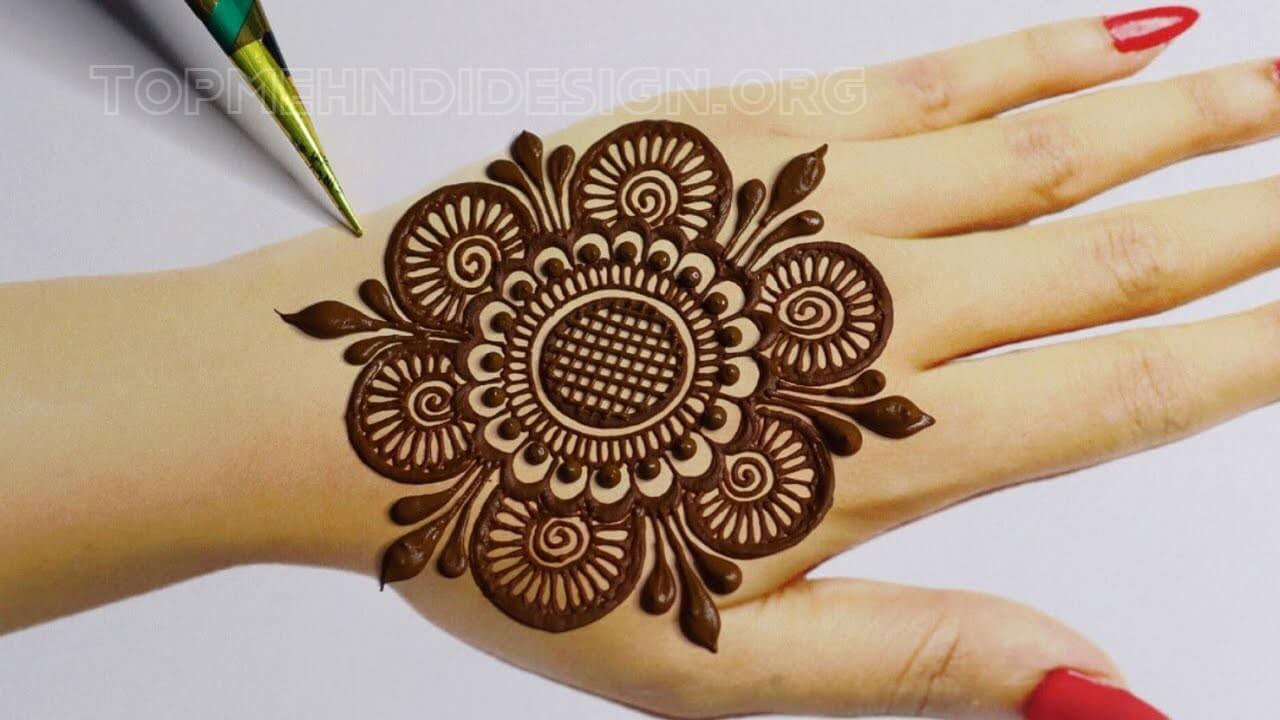
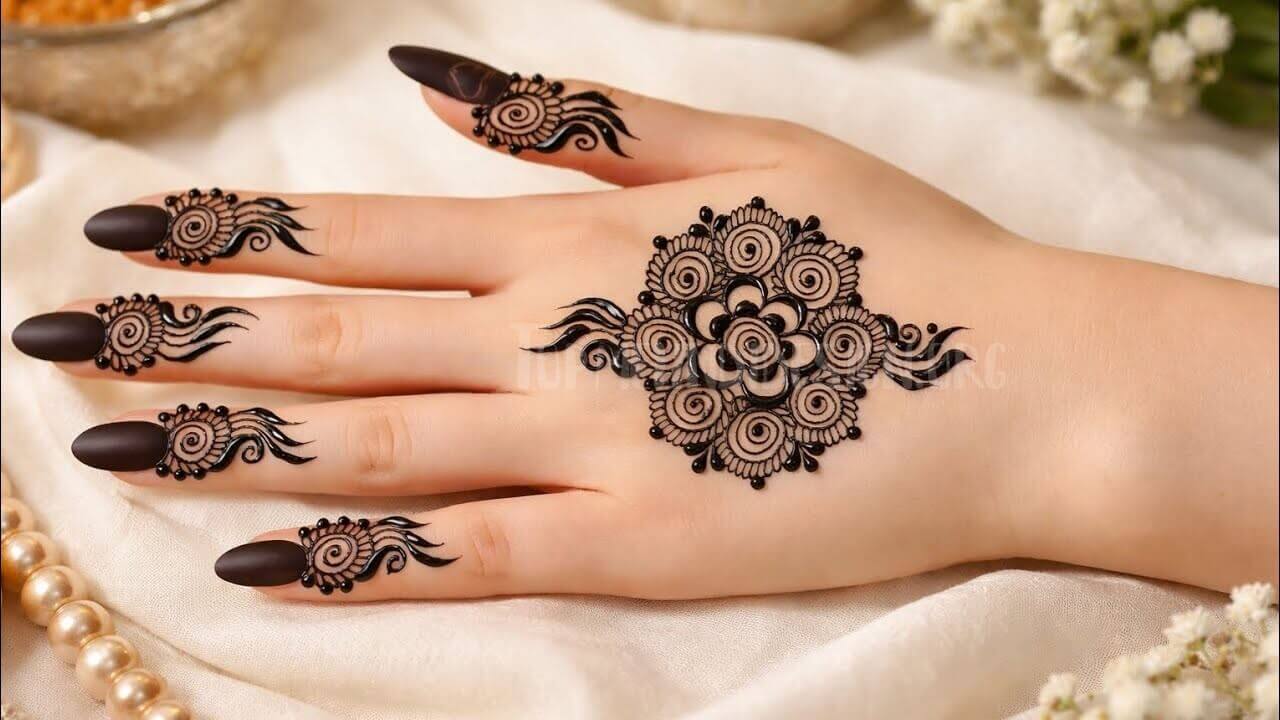
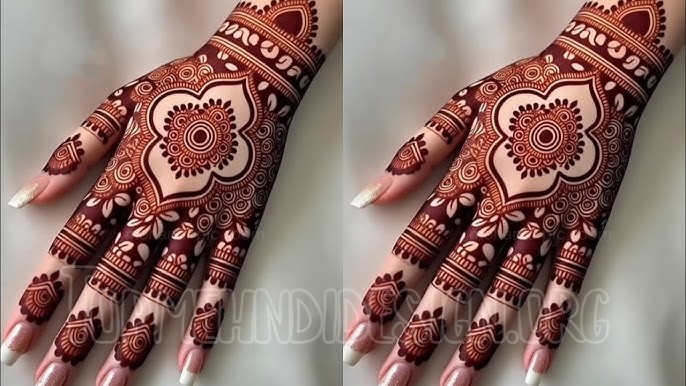
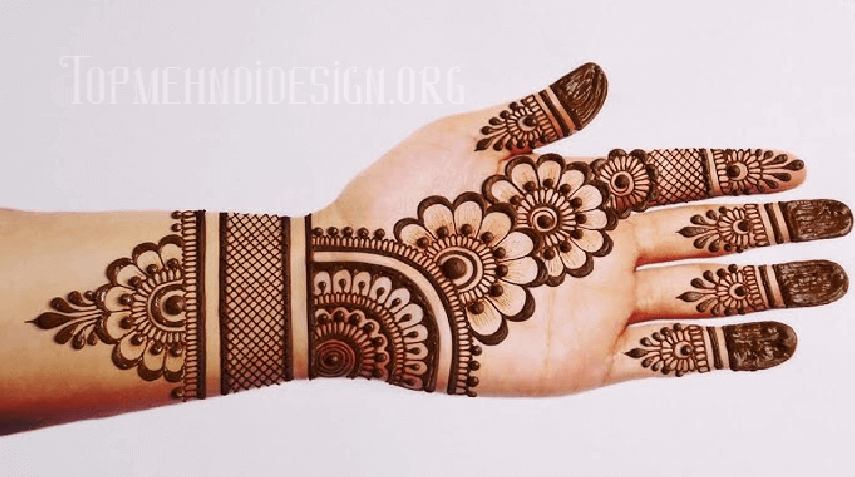
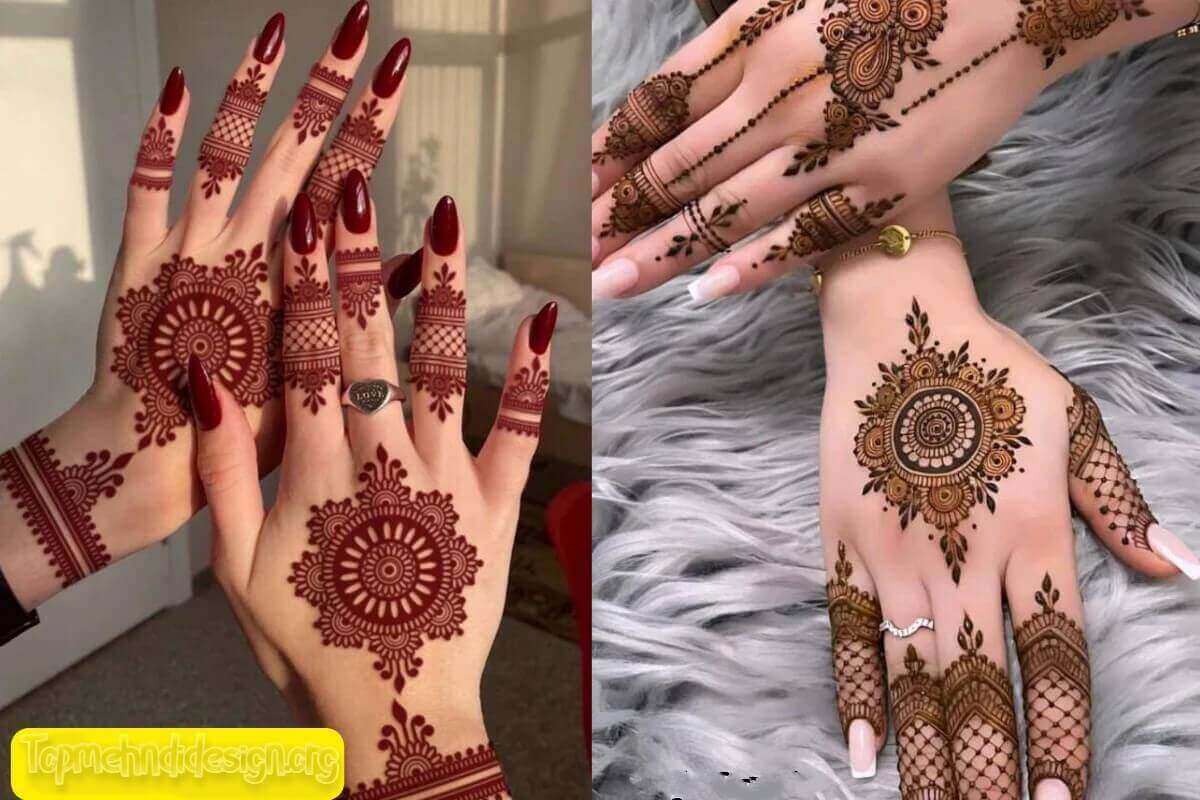
4. Mandala Center Design
Draw a small circle in the center of your palm. Add petals around it to create a beautiful mandala flower.
You can make it as simple or detailed as you want. Even a basic mandala looks impressive and artistic.
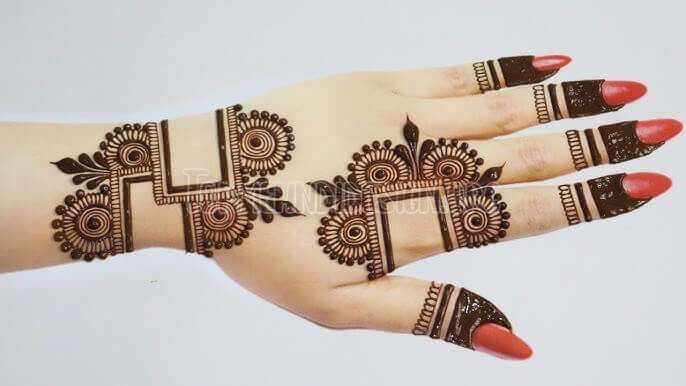
5. Geometric Triangle Pattern
Create small triangles in a row along your fingers or wrist. Fill alternate triangles with dots or leave them empty.
This modern, simple mehndi design is trending on social media. It’s perfect for those who love contemporary art.

6. Heart and Swirl Combination
Draw a simple heart on the back of your hand. Surround it with gentle swirls and small dots.
This romantic, simple mehndi design is ideal for Valentine’s Day or date nights. It’s sweet, simple, and charming.

7. Arabic Style Simple Pattern
Arabic mehndi is known for bold, flowing lines and lots of space. Create curved lines with small flowers.
Leave plenty of gaps between patterns for that authentic Arabic look. This simple mehndi design is elegant and sophisticated.
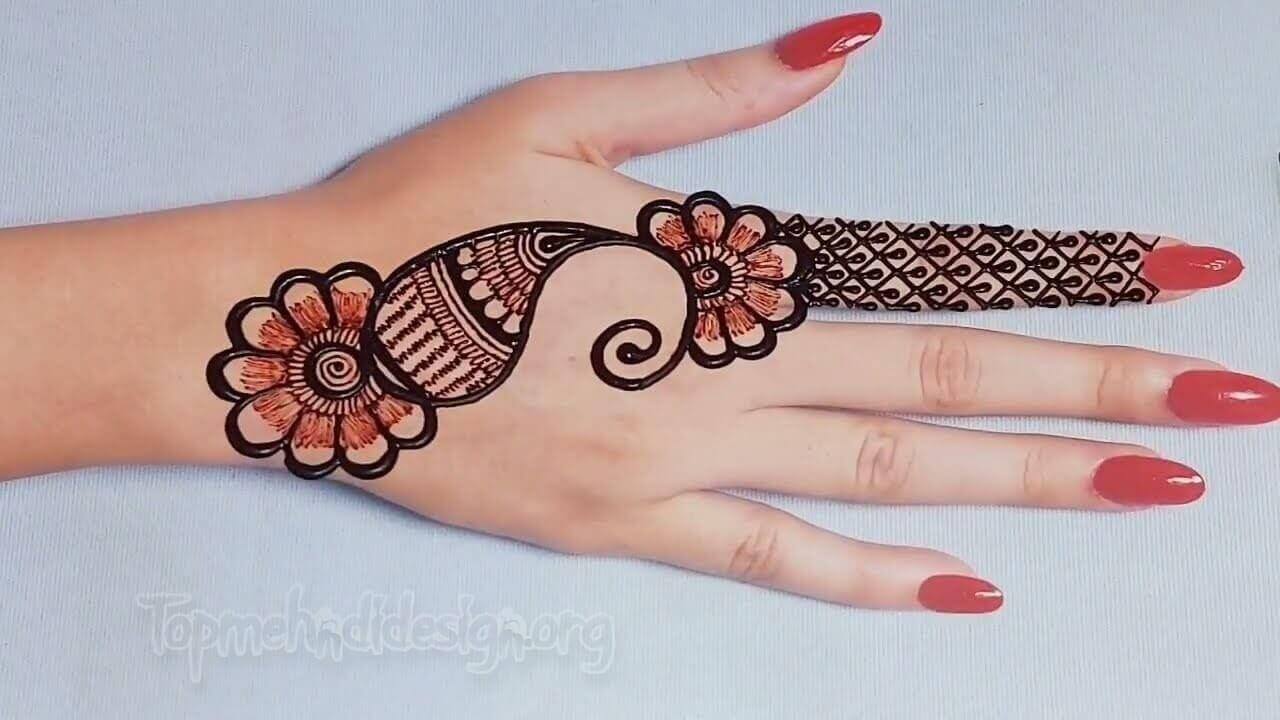
8. Paisley Simple Design
Draw one or two paisley shapes on your hand. Fill them with simple dots or small lines.
Paisley is a traditional mehndi motif that looks beautiful even in simple form. Add small leaves around it for extra detail.

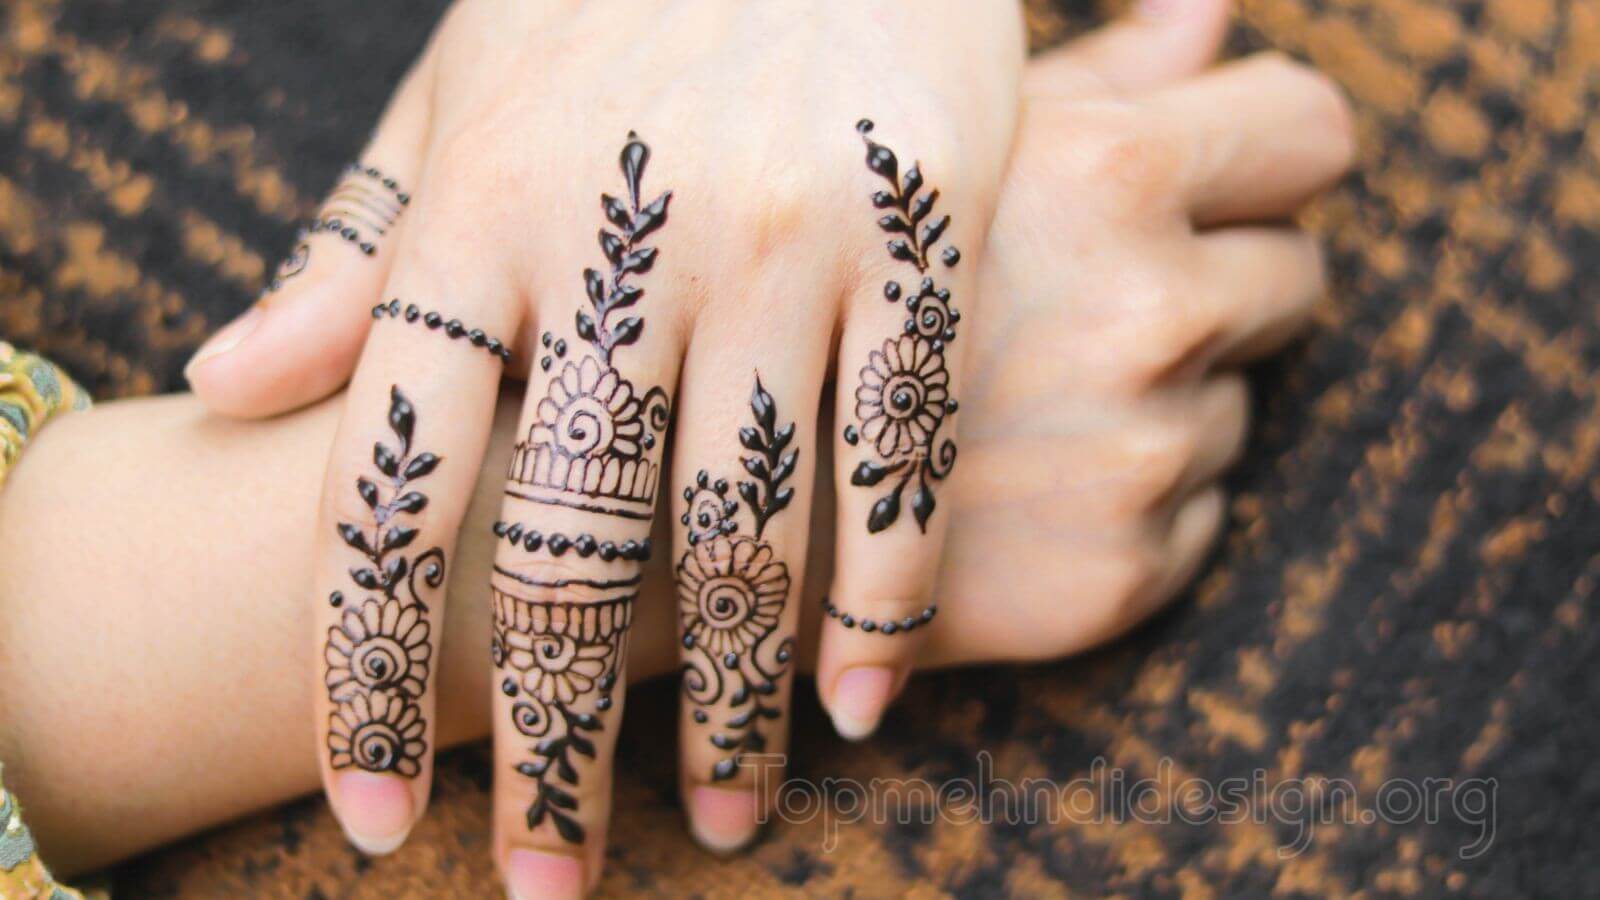
9. Dotted Finger Caps
Cover just your fingertips with dots arranged in patterns. Create half-circles, triangles, or simple lines using dots.
This ultra-minimal, simple mehndi design is quick and trendy. It’s perfect when you want just a hint of henna.
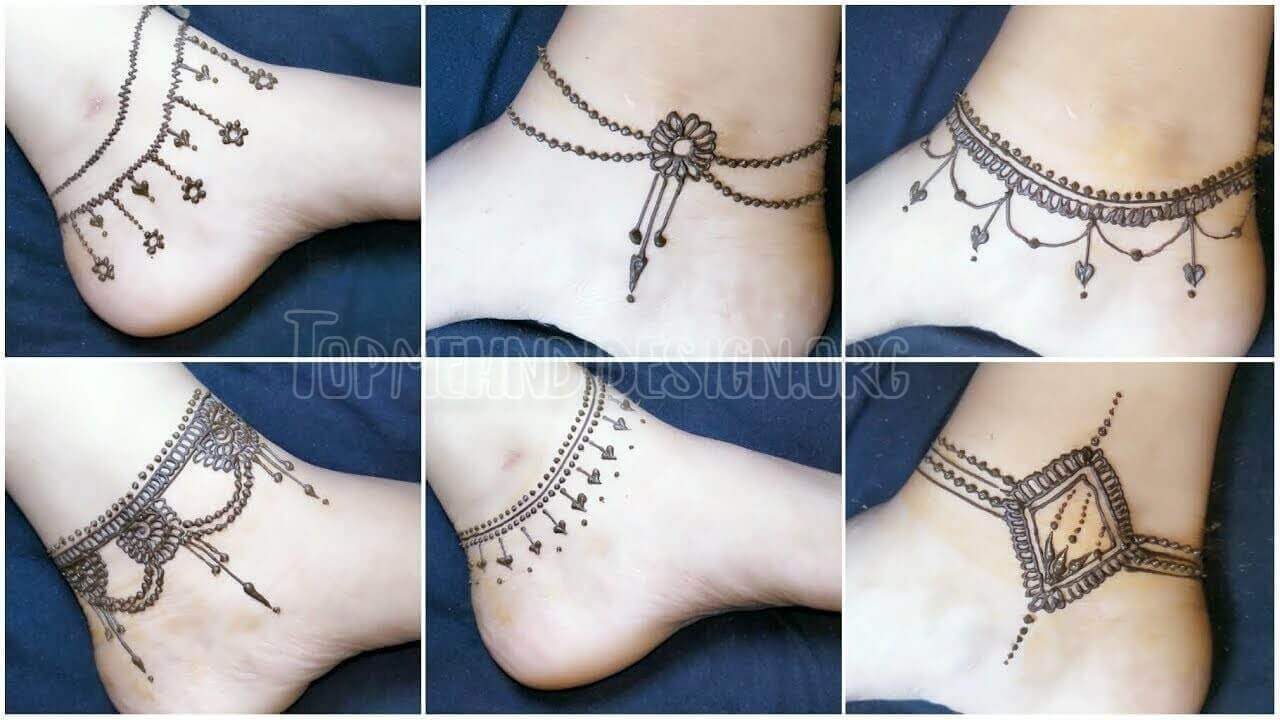
10. Ankle Chain Design
For feet, draw a curved line around your ankle like an anklet. Add flowers, leaves, or dots along the line.
This simple mehndi design for feet is perfect for summer and beach occasions. Pair it with sandals for maximum impact.
How to Apply Simple Mehndi Design at Home
Applying a simple mehndi design yourself is easier than you think. Follow this step-by-step guide for beautiful results every time.
1. Gather Your Materials
You’ll need a fresh henna cone, tissue paper, and cotton swabs for cleanup. Optional items include lemon-sugar mixture and essential oils.
Make sure your henna cone is fresh and properly sealed. Old henna gives weak color and poor results.
2. Prepare Your Skin
Wash your hands thoroughly with soap to remove any oils or lotions. Dry them completely before starting.
Clean skin helps henna absorb better and gives a darker color. You can also exfoliate gently for even better results.
3. Practice First
Before applying on your skin, practice your chosen simple mehndi design on paper. This helps you get comfortable with the cone.
Draw the pattern 2-3 times until your hand movements feel natural. Confidence makes a huge difference in the final result.

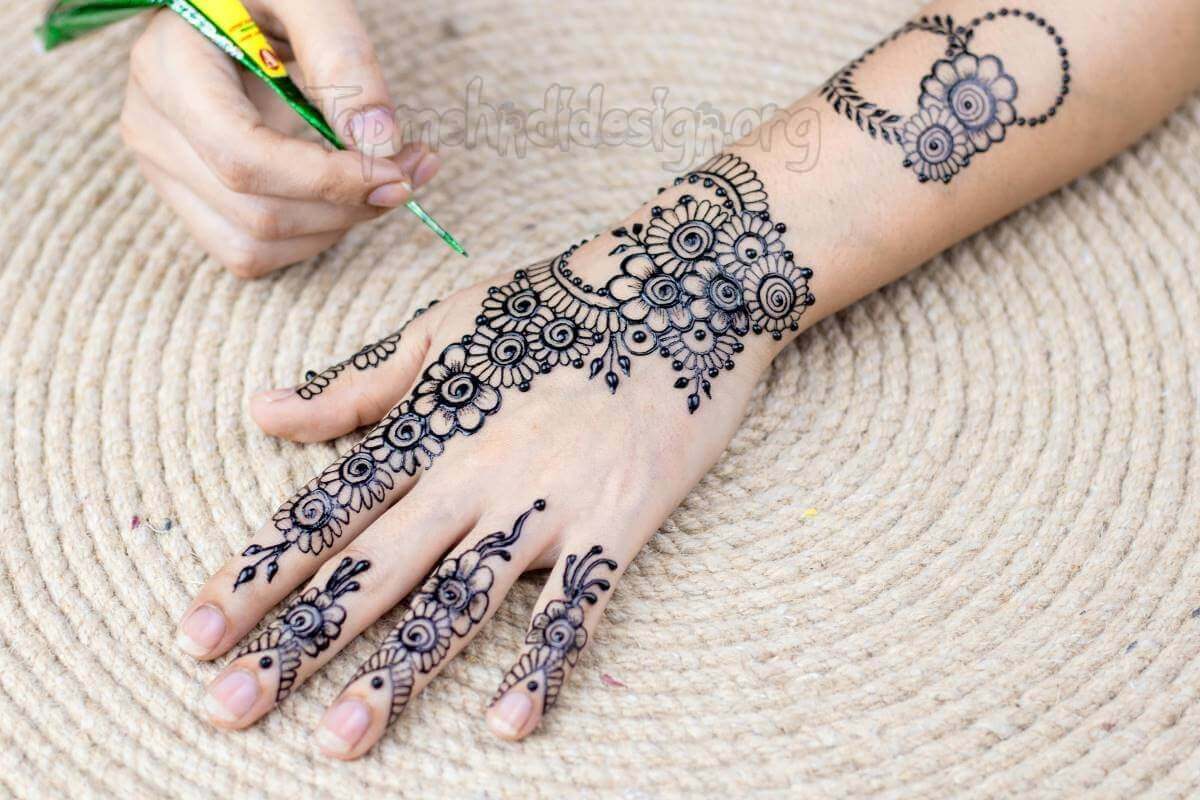
4. Apply the Design
Hold the henna cone like a pen at a 45-degree angle. Apply gentle, steady pressure while keeping the tip close to your skin.
Work slowly and don’t rush through any part. It’s better to take your time and get clean lines.
5. Let It Dry Completely
Keep your design still for at least 2-3 hours without touching it. The longer you keep henna on, the darker the stain will be.
Avoid moving your hands or doing any activity during drying time. Patience is key for beautiful, long-lasting color.
6. Remove Carefully
Once the henna is completely dry and cracking, gently scrape it off. Use a blunt knife, credit card edge, or your fingernails.
Don’t use water to remove henna. Just scrape off the dried paste and let the stain develop naturally.
Simple Mehndi Design for Different Hand Parts
Each part of your hand offers unique opportunities for a simple mehndi design. Let’s explore what works best where.

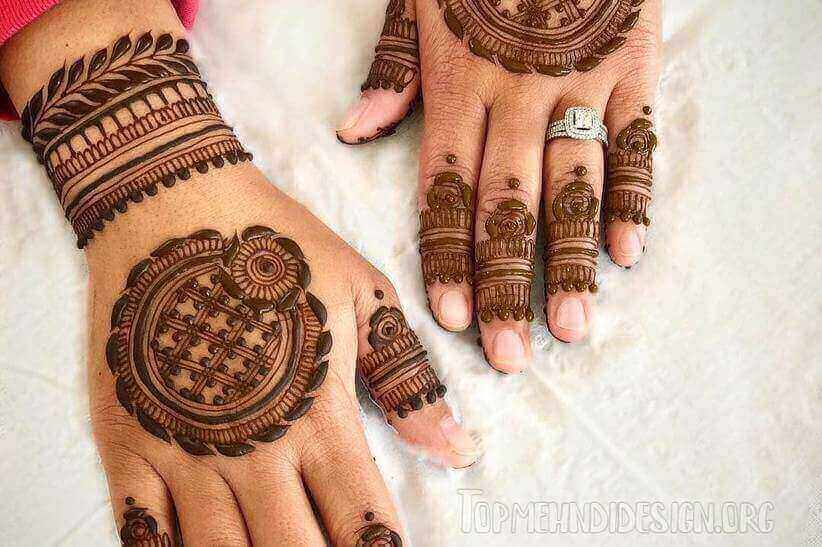
1. Palm Designs
Palm designs are visible when you show your hands or wave. A small mandala in the center is a classic choice.
You can also create simple geometric patterns or a single large flower. Keep it minimal since palm designs fade faster.

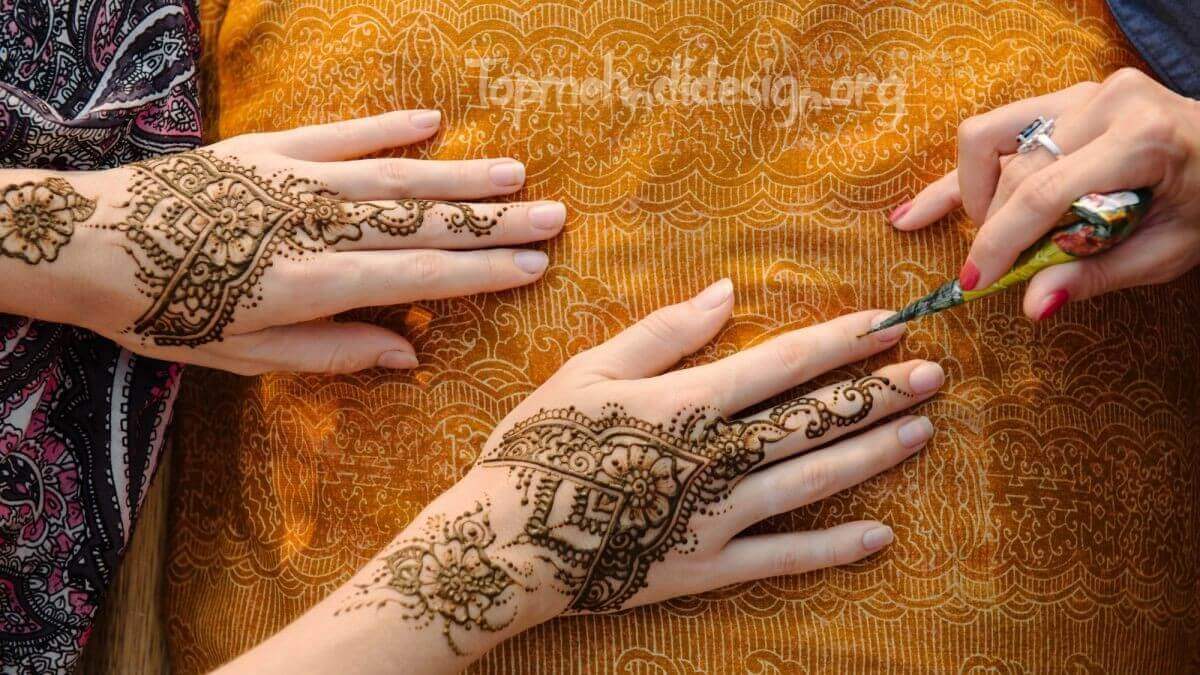
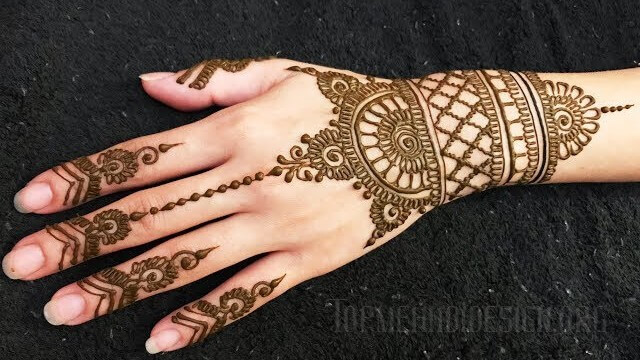
2. Back of Hand Patterns
The back of your hand is the most visible area. This is where you can go slightly more detailed with your simple mehndi design.
Flowing vines, floral patterns, or Arabic-style designs work beautifully here. The back hand also retains color longer than the palms.
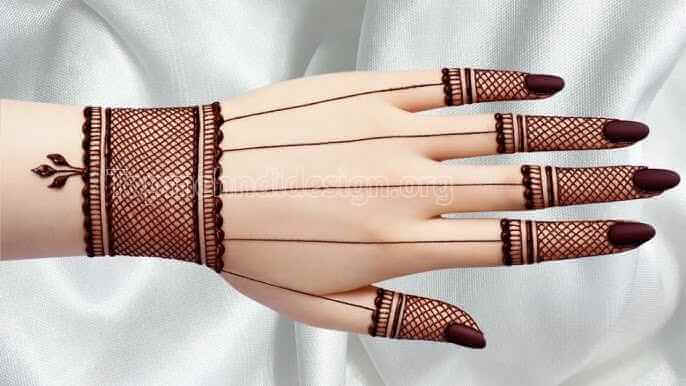
3. Finger Mehndi Only
Finger-only mehndi is trending as the most minimal option. Decorate just your fingers while leaving the rest of your hand empty.
Create caps on fingertips, rings at joints, or intricate patterns running along finger lengths. This style is modern and chic.
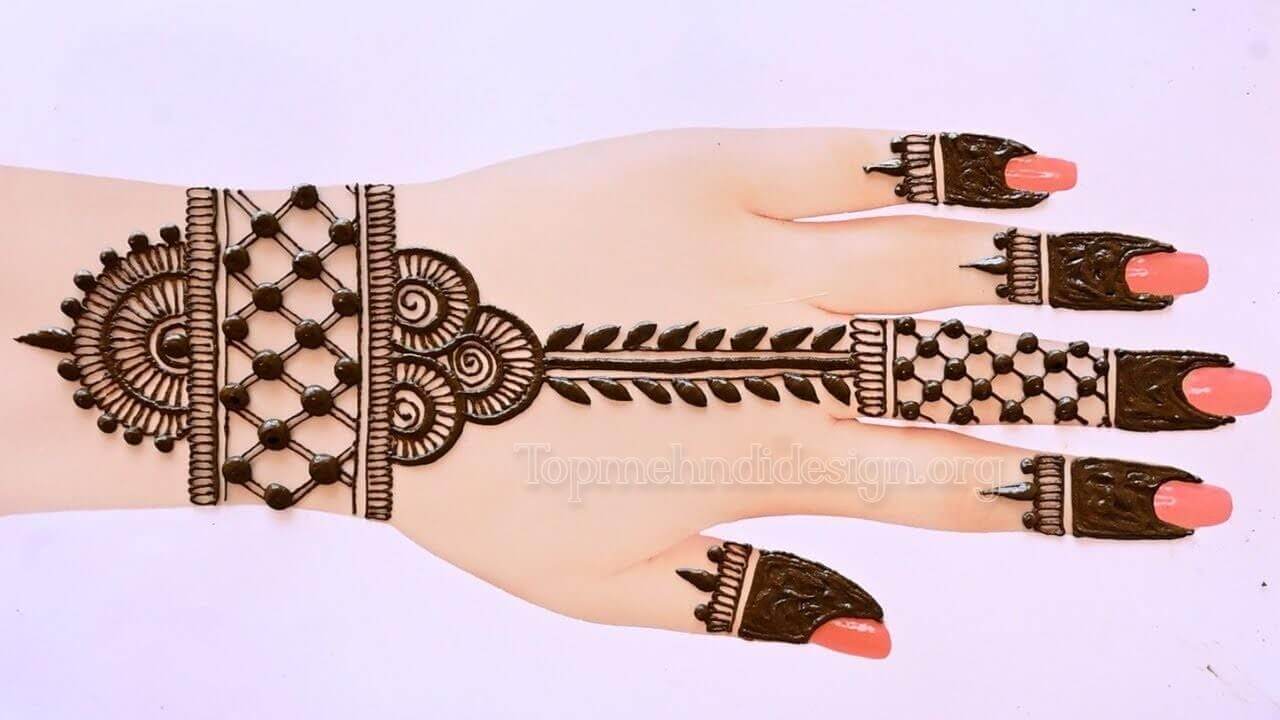
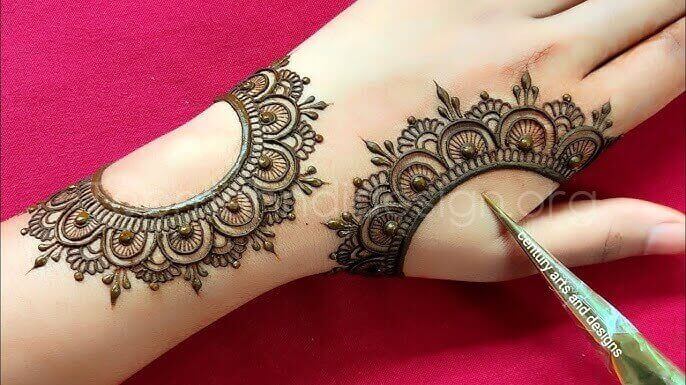
4. Wrist Decorations
Wrist mehndi looks like delicate jewelry. Bracelet-style designs with flowers and leaves are most popular.
You can also try chain-like patterns or cuff designs. Wrist mehndi pairs beautifully with bangles and watches.
Trending Simple Mehndi Design Styles in 2026
Stay updated with the latest trends in simple mehndi design. These styles are popular on social media and at events worldwide.
1. Minimalist Geometric Patterns
Clean lines, triangles, squares, and circles arranged in modern compositions are hugely popular. This contemporary simple mehndi design appeals to younger generations.
Mix geometric shapes with traditional flowers for a fusion style. The contrast between modern and traditional creates stunning results.
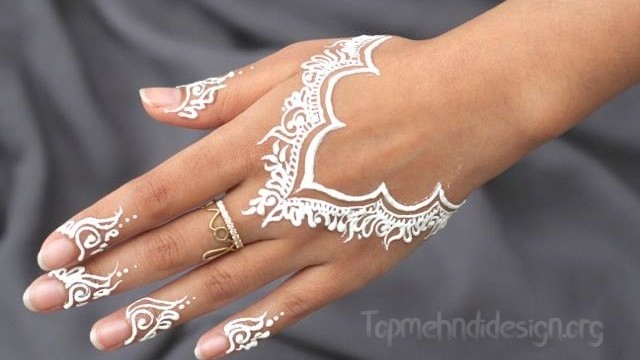
2. White Henna Alternative
While not traditional henna, white body paint that looks like mehndi is trending. It photographs beautifully and offers a unique aesthetic.
White designs show up perfectly on all skin tones. They’re especially popular for beach weddings and summer events.
3. Negative Space Designs
These patterns use space as part of the design rather than filling everything. Bold outlines with lots of gaps create a modern, artistic look.
Negative space simple mehndi design requires less time and henna, but looks incredibly sophisticated. It’s perfect for fashion-forward individuals.
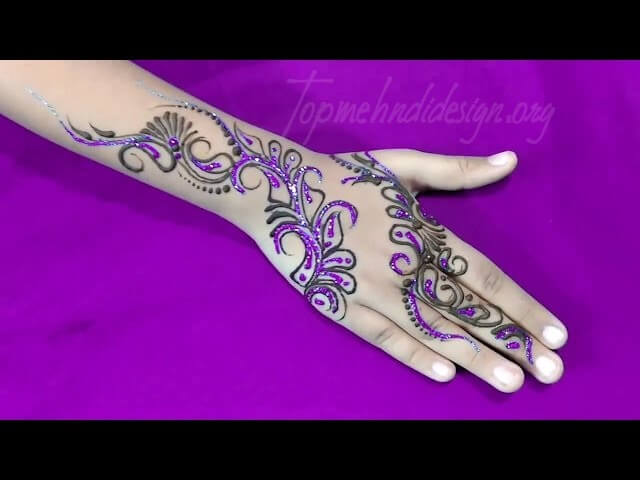
4. Glitter and Gem Accents
Adding glitter or stick-on gems over a simple mehndi design elevates the look instantly. This works great for parties and celebrations.
Apply gems while the henna is still wet, so they stick better. Remove them before scraping off the dried henna.
How Long Does a Simple Mehndi Design Last?
Understanding the lifespan of your simple mehndi design helps you plan the timing of applications for events.

1. Expected Duration
On hands, a simple mehndi design typically lasts 1-2 weeks before fading completely. The exact duration depends on care and skin type.
On feet, henna lasts longer—often 3-4 weeks. Feet are washed less frequently and have thicker skin that holds color better.
2. Factors Affecting Longevity
How often you wash your hands makes the biggest difference. Frequent washing with soap fades mehndi faster.
Moisturizing regularly helps preserve color. Apply oil-based lotions to keep skin hydrated and mehndi vibrant.
3. Fading Process
Your simple mehndi design will gradually lighten from dark brown to orange to yellow before disappearing. This is completely normal.
The design fades from the edges inward. By the second week, you’ll notice it’s mostly gone from palms but still visible on the backs of hands.

Simple Mehndi Design vs Complex Designs
Understanding the differences helps you choose the right style for your needs and skill level.
1. Application Time Comparison
Simple mehndi design takes 10-30 minutes while complex designs require 2-4 hours. This time difference is significant when you’re busy.
You can apply simple designs yourself in minutes. Complex patterns often need professional artists.
2. Skill Requirements
Anyone can create a simple mehndi design with minimal practice. Complex designs require years of experience and artistic talent.
Start with simple patterns to build confidence and skills. You can always progress to more detailed work later.

3. Occasion Suitability
Simple designs work for casual to semi-formal events. Very formal occasions like your own wedding might call for elaborate mehndi.
Consider the event’s importance and your role in it. Guests can wear simple designs while the main celebrant chooses complex patterns.

4. Cost Differences
DIY simple mehndi design costs almost nothing, just the price of one henna cone. Professional complex designs can cost $50-500 depending on the detail.
Simple designs are budget-friendly and accessible to everyone. You don’t need expensive services for beautiful results.
Conclusion
Simple mehndi design offers a beautiful way to decorate your hands without complexity or time commitment. Whether you’re a complete beginner or someone who prefers minimal art, these patterns suit every need.
Start with the easiest designs from this guide and practice regularly. Your skills will improve quickly, and you’ll soon create stunning henna art effortlessly.
Remember to use fresh, natural henna and follow proper application techniques. With patience and care, your simple mehndi design will look professional and gorgeous.
FAQs
1. How soon before an event should I apply mehndi?
Apply your simple mehndi design 1-2 days before the event for the darkest color. The stain darkens over 24-48 hours after removal.
Avoid applying on the same day as your event. Fresh mehndi looks orange and takes time to develop a rich brown color.
2. Can I sleep with wet mehndi?
Yes, sleeping with mehndi on gives the darkest possible stain. Wrap your hands in tissue or old cloth to protect your bedding.
Be careful not to smudge the design while sleeping. Some people wear old socks on their hands to prevent this.
3. Why is my mehndi very light?
Light color usually means the henna was old, not left on long enough, or removed with water too soon. Quality and timing are crucial.
Using chemical soaps immediately after removal also lightens the stain. Follow all aftercare instructions for best results.
4. Can men wear a simple mehndi design?
Absolutely! Mehndi is for everyone regardless of gender. Many men wear simple patterns for festivals and weddings.
Men often choose minimal geometric designs or single symbols. There’s no rule about who can enjoy this beautiful art form.
5. Is mehndi safe for children?
Natural henna is safe for kids over 5 years old. Do a patch test first and supervise application.
Choose a very simple mehndi design for children since they may not sit still for long. Make it a fun, quick activity.