


Introduction
This beginner mehndi tutorial 2026 empowers complete first-timers transforming from nervous cone-holders into confident henna artists through structured progressive learning. Mehndi artistry is a learned skill, not innate talent — systematic practice using correct techniques produces consistent improvement regardless of starting ability. Every expert mehndi artist began exactly where you are now, experiencing identical nervousness and making similar mistakes before building confidence through persistent practice.
Why Beginners Need Proper Mehndi Tutorial
Without proper guidance, beginners make predictable mistakes — incorrect cone holding causing hand fatigue, wrong pressure producing uneven lines, poor pattern choices overwhelming limited skills. Proper beginner mehndi tutorial reframes expectations celebrating incremental progress rather than demanding immediate mastery. This tutorial compresses learning curves providing shortcuts avoiding common mistakes while building fundamental skills. Cultural tradition preservation depends on new generation learners maintaining henna artistry — this guide connects contemporary women to centuries-old feminine artistic heritage.
Understanding Your Mehndi Cone
Cone Anatomy: Wide base holds paste reservoir, tapered body controls flow, tiny tip determines line thickness. Understanding this transforms the mysterious cone into a controllable artistic instrument.
Pre-Made vs Homemade: Pre-made commercial cones offer convenience for absolute beginners. Homemade cones using fresh henna paste provide superior color. Start commercial, progress to homemade after confidence building.
Testing Cone Flow: Before hand application, test flow on paper plate. Squeeze gently observing paste consistency and flow speed. Proper flow produces smooth continuous lines without breaks or excessive dripping.
Storage: Store unused cones refrigerated. Bring to room temperature 30 minutes before application — cold paste flows poorly creating frustrating experiences.
Correct Cone Holding Technique
Pencil Grip (recommended): Hold cone like pencil between thumb and index finger with middle finger supporting underneath. Most comfortable position for extended application sessions.
Syringe Grip alternative: Hold cone like syringe between thumb and first two fingers — useful for bold thick lines. Experiment to find personal preference.
Hand Stability: Rest pinky and ring fingers on application surface creating stable tripod base. Never hold hand suspended without surface contact — this single fix dramatically improves beginner results immediately.
Pressure Point: Apply squeeze pressure using thumb against cone’s tapered body rather than squeezing the base. This provides controlled paste flow preventing excessive dripping.
Basic Stroke Practice Exercises
Practice systematically on paper before attempting any skin application:
Straight Lines: Draw 50 to 100 straight parallel lines daily. Focus on consistent thickness, even pressure, and steady movement — this builds baseline control supporting all future pattern work.
Curved Lines: Practice gentle curves, sharp curves, and S-curves repeatedly. Curved lines form the foundation for floral and paisley patterns dominating traditional mehndi designs.
Dots: Create rows of uniform dots varying sizes intentionally. Perfect dot control demonstrates excellent pressure regulation mastery.
Petals: Draw simple five-petal flowers repeatedly until achieving consistent size and spacing — the most common mehndi element appearing throughout traditional designs universally.
Pressure Control Mastery
Light pressure: Thin delicate lines perfect for fine details and intricate patterns.
Medium pressure: Standard lines forming most pattern outlines and structural elements — default baseline.
Heavy pressure: Bold thick lines creating dramatic outlines and statement elements — use sparingly as it causes fatigue.
Pressure transitions: Practice smoothly transitioning between levels within a single stroke — creates dimensional effects elevating designs beyond basic level.
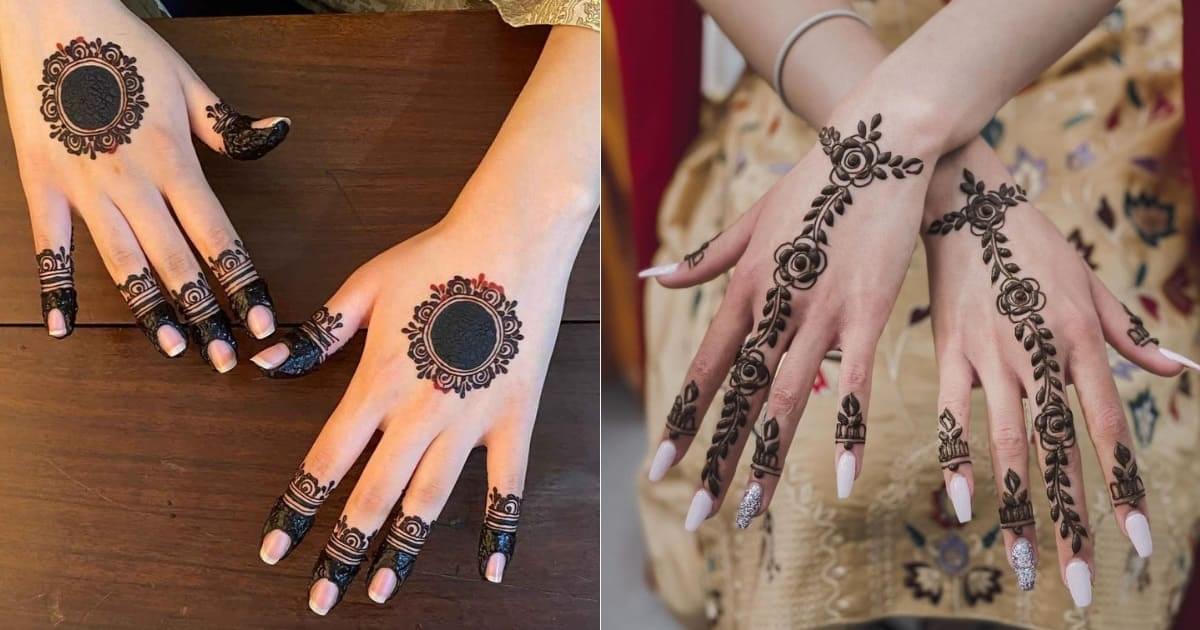
Essential Basic Patterns for Beginners
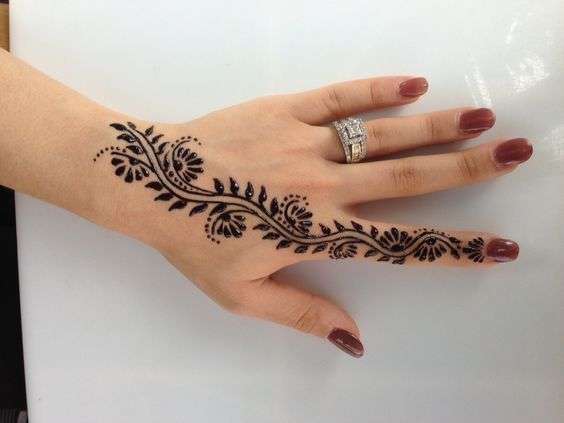
Simple Five-Petal Flower: Draw central dot, surround with five equally-spaced petals using curved lines. Universal pattern appearing throughout mehndi designs globally — master this before attempting complex florals.
Basic Paisley: Create teardrop outline, fill with simple internal patterns. Quintessential mehndi motif — start large, practice smaller progressively.
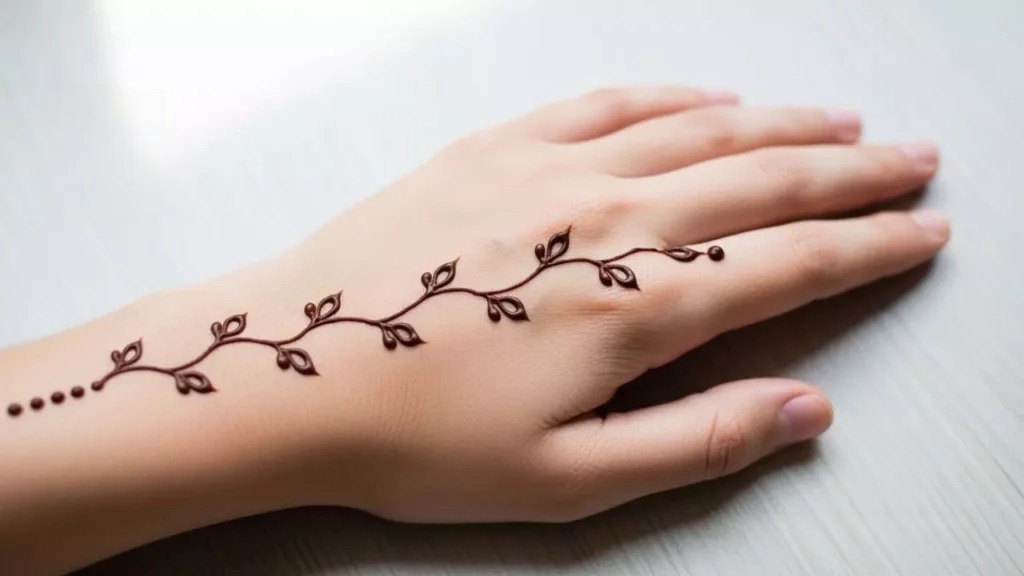
Leaf and Vine: Draw central curved vine, add alternating small leaves along both sides. Elegant linear pattern filling spaces beautifully while remaining beginner-accessible.
Simple Mandala: Draw concentric circles around center point, divide into equal sections, fill each section with simple repeating elements. Provides satisfying practice developing symmetry skills.
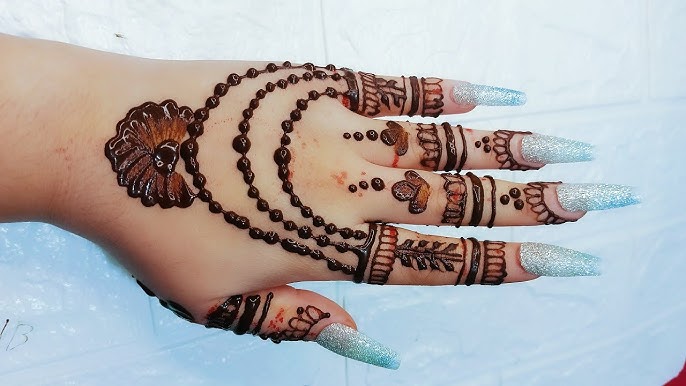
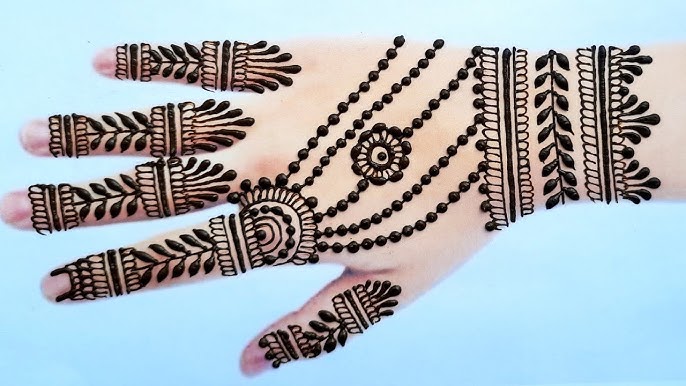
Complete Beginner-Friendly Designs
Wrist Bracelet (30 minutes): Simple chain pattern encircling wrist using only basic lines and dots. Perfect first complete design producing genuine satisfaction.
Finger Ring (20 minutes): Delicate ring encircling single finger using fundamental curves and dots. Quick completion provides immediate gratification maintaining beginner motivation.
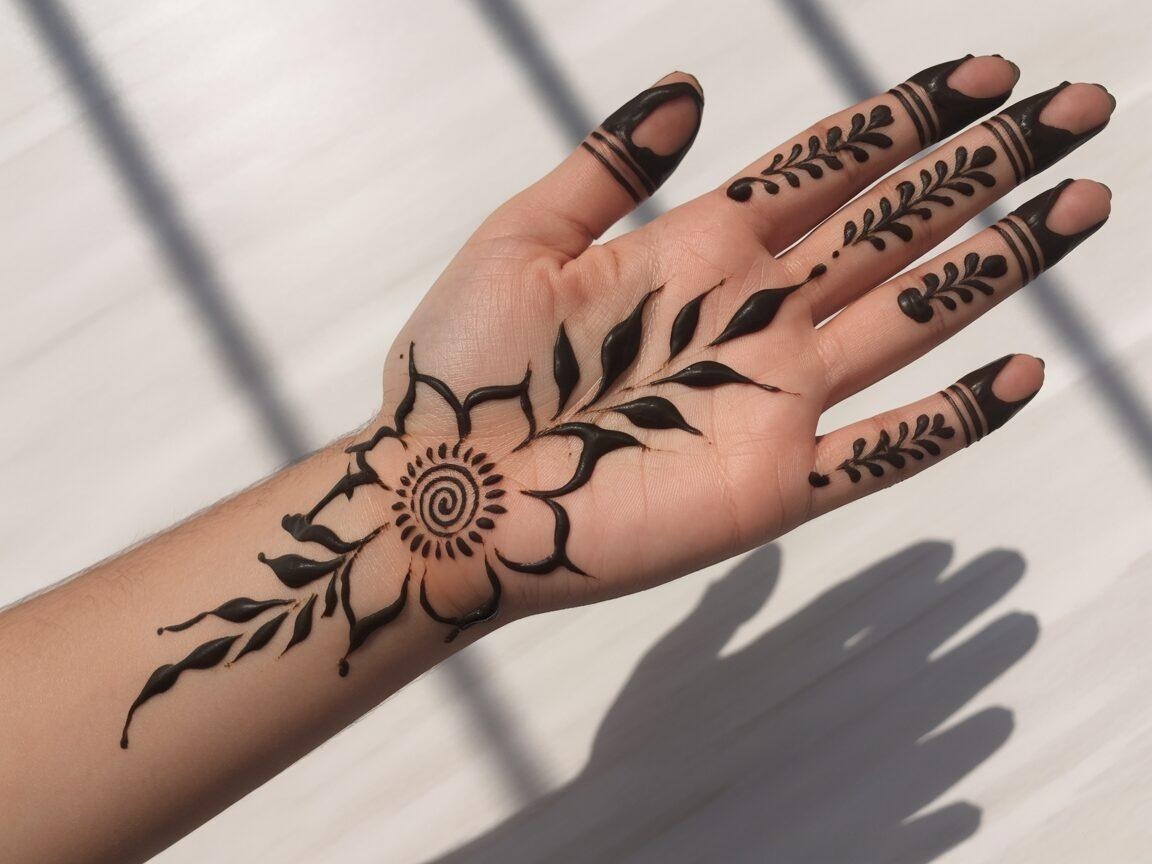
Small Back Hand Flower (25 minutes): Single central flower with minimal surrounding elements. Achievable success builds confidence powerfully.
Palm Center Mandala (40 minutes): Circular mandala positioned in palm center. More challenging than previous designs while remaining completely achievable for practiced beginners.
Common Beginner Mistakes and Solutions
Holding cone too tightly → Relax grip, hold like pencil gently, take breaks.
Applying too much pressure → Practice feather-light pressure, test on paper first.
Working too quickly → Slow down deliberately — steady wins over fast.
Attempting complex designs → Start simple patterns, progress gradually and systematically.
Comparing to professionals → Compare today’s work to yesterday’s progress only.
Not practicing on paper → Practice extensively on paper before any skin application.
Hand Positioning and Body Comfort
Beginner mehndi tutorial emphasizes physical comfort preventing fatigue. Sit with back supported, work surface at proper height preventing hunching. Rest elbow on stable surface — unsupported arms create shaky unsteady lines. Work in bright natural light or strong artificial lighting enabling precise detail work. Cover work surface with plastic or paper protecting from henna stains.
Making Your Own Henna Paste
Ingredients: Fresh organic henna powder, lemon juice, eucalyptus or tea tree essential oil, sugar.
Mixing: Combine 100g henna powder with 40ml lemon juice, mix thoroughly eliminating lumps. Add 15ml essential oils and 20g sugar. Achieve toothpaste-like consistency adding water gradually.
Dye Release: Cover paste touching plastic wrap directly against surface. Rest at room temperature 6 to 12 hours — this critical step determines color darkness ultimately.
Consistency Check: Perfect consistency resembles smooth toothpaste flowing steadily without excessive dripping. Add water drop-by-drop if paste thickened too much.
Making Practice Cones
Cellophane: Cut 6×6 inch squares. Roll tightly from corner creating cone shape with tiny tip opening. Secure with tape along seam.
Tip Cutting: Cut tiny opening at cone tip using sharp scissors — start extremely small, easier enlarging than reducing. Test paste flow before applying to skin.
Filling: Fill cone halfway only preventing excessive paste complicating control. Fold top several times securing tightly with rubber band or tape.
Progressive 4-Week Practice Schedule
Week 1 — Cone Mastery: Day 1-2 cone holding comfort, Day 3-4 straight line exercises (100+ lines daily), Day 5-6 curved line practice (50+ curves daily), Day 7 free practice review.
Week 2 — Basic Elements: Day 1-2 dot practice various sizes, Day 3-4 petal formation exercises, Day 5-6 leaf and simple shapes, Day 7 combine elements freely.
Week 3 — Simple Patterns: Day 1-2 five-petal flowers repeatedly, Day 3-4 basic paisley practice, Day 5-6 simple mandalas, Day 7 pattern combination exercises.
Week 4 — Complete Designs: Day 1-2 wrist bracelet design, Day 3-4 finger ring pattern, Day 5-6 small back hand flower, Day 7 first skin application!
First Skin Application Guide
Accept that first attempt won’t achieve perfection — focus on learning experience rather than final appearance. Choose extremely simple pattern (wrist bracelet or finger ring). Apply on non-dominant hand’s wrist first — hides imperfections while providing practice. Work slowly and deliberately — speed develops naturally through repeated practice. Photograph first completed design proudly regardless of imperfections — this documents the beginning of your artistic journey.
Troubleshooting Common Issues
Paste too thick → Add water drop-by-drop mixing thoroughly.
Paste too thin → Add small amounts fresh henna powder.
Tip clogged → Squeeze firmly to dislodge blockage or cut tip slightly larger.
Unsteady lines → Support elbow, slow down, practice more on paper.
Design smudging → Wait longer for drying, support hand carefully avoiding contact.
Light color → Keep paste on 8+ hours, avoid water 12 hours after removal.
Building Confidence Through Practice
Celebrate every improvement — straighter lines, better pressure control, completed patterns. View errors as valuable teachers rather than failures. Accept realistic timelines — genuine skill develops over months not days. Share progress with supportive communities online or locally for encouragement and motivation.
Frequently Asked Questions
Q: Can anyone learn mehndi or do you need artistic talent? Anyone can learn — it’s a learned skill, not innate talent. Consistent practice produces improvement inevitably.
Q: How long to learn basic mehndi? Most beginners create simple designs confidently after 3 to 4 weeks consistent practice. Complex patterns require 2 to 3 months regular practice.
Q: Best way to practice? Systematically on paper — straight lines, curves, dots, basic patterns, then simple complete designs. Paper practice is unlimited and free.
Q: Pre-made or homemade cones? Start with pre-made commercial cones. Progress to homemade after gaining confidence through initial practice sessions.
Q: How to hold the cone correctly? Hold like pencil between thumb and index finger with middle finger supporting underneath. Rest pinky and ring fingers on application surface for stability.
Q: Why are my lines uneven and shaky? Unsupported hands, excessive speed, or incorrect cone holding. Support elbow firmly, slow down deliberately, check grip correctness, practice extensively on paper.
Q: How much practice before applying on skin? Minimum 2 to 3 weeks on paper mastering basic strokes and simple patterns before first skin application.
Q: Easiest designs for absolute beginners? Wrist bracelets, finger rings, and small single flowers — use basic elements while producing complete satisfying results.
Q: How to fix mistakes while applying? Remove wet paste immediately using cotton swab or tissue. Wait for area to dry completely then redraw correctly. Mistakes are normal learning experiences.
Q: When will my mehndi look professional? Satisfying results after 1 to 2 months consistent practice. Professional-quality work develops after 4 to 6 months regular application.