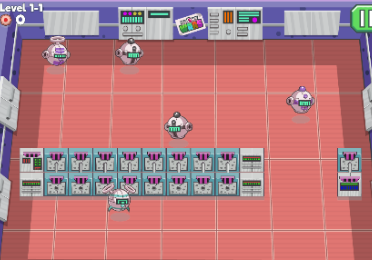
Drone Wars
Tetris Cube
Cube Shift
Squishy bird
Copter Attack
Connect the Halloween
Box Blast
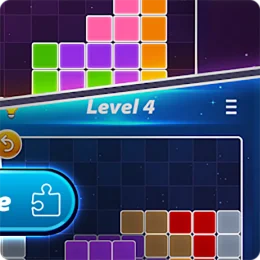
Puzzle Block
Bubble Hamsters
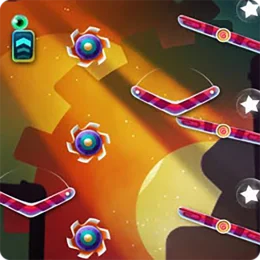
Galactic Maze
Trap Mouse